9/19/2012

Money Sorting

Chris and I started a project (I will post it once it is completed) that required a bunch of coins to be seperated.  I thought this would be a great teaching moment for Elie, so I put her in charge of finding pennies and dimes - thinking those two coins would be easy to spot because of color and size.  After sorting her coins for a while, she went on to do all of them.  


Once she was done, she knew all of the names of the coins (penny, nickel, dime, quarter).  This was another moment when I realized how much I do love homeschooling!

9/17/2012

Pinterest Challenge #29 - Play-doh Number Holder

After searching and searching our art supplies for craft sticks - all to no avail - I resorted to writing the numbers on Q-tips for this activity.
Elie quickly put them in order and moved onto playing with the play-doh.


9/16/2012

Pinterest Challenge #28 - Popcorn Sensory Tub

One of the favorite activities enjoyed by our 3 year old is her rice and beans sensory tub, so when I came across this Pinterest idea from Play Through The Day, I knew this would be a quick and easy setup.  We already had everything needed - packing peanuts, red/white popcorn container, and popcorn kernels (we bought a ginormous bag from Sams a few months back).

I grabbed a bin, threw it all together, and Elie went to town having a good time.

9/13/2012

Creation Book


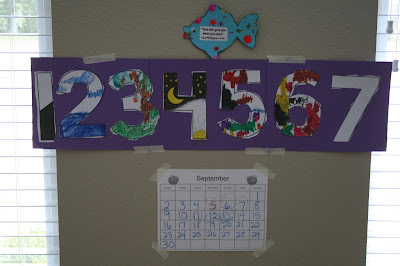
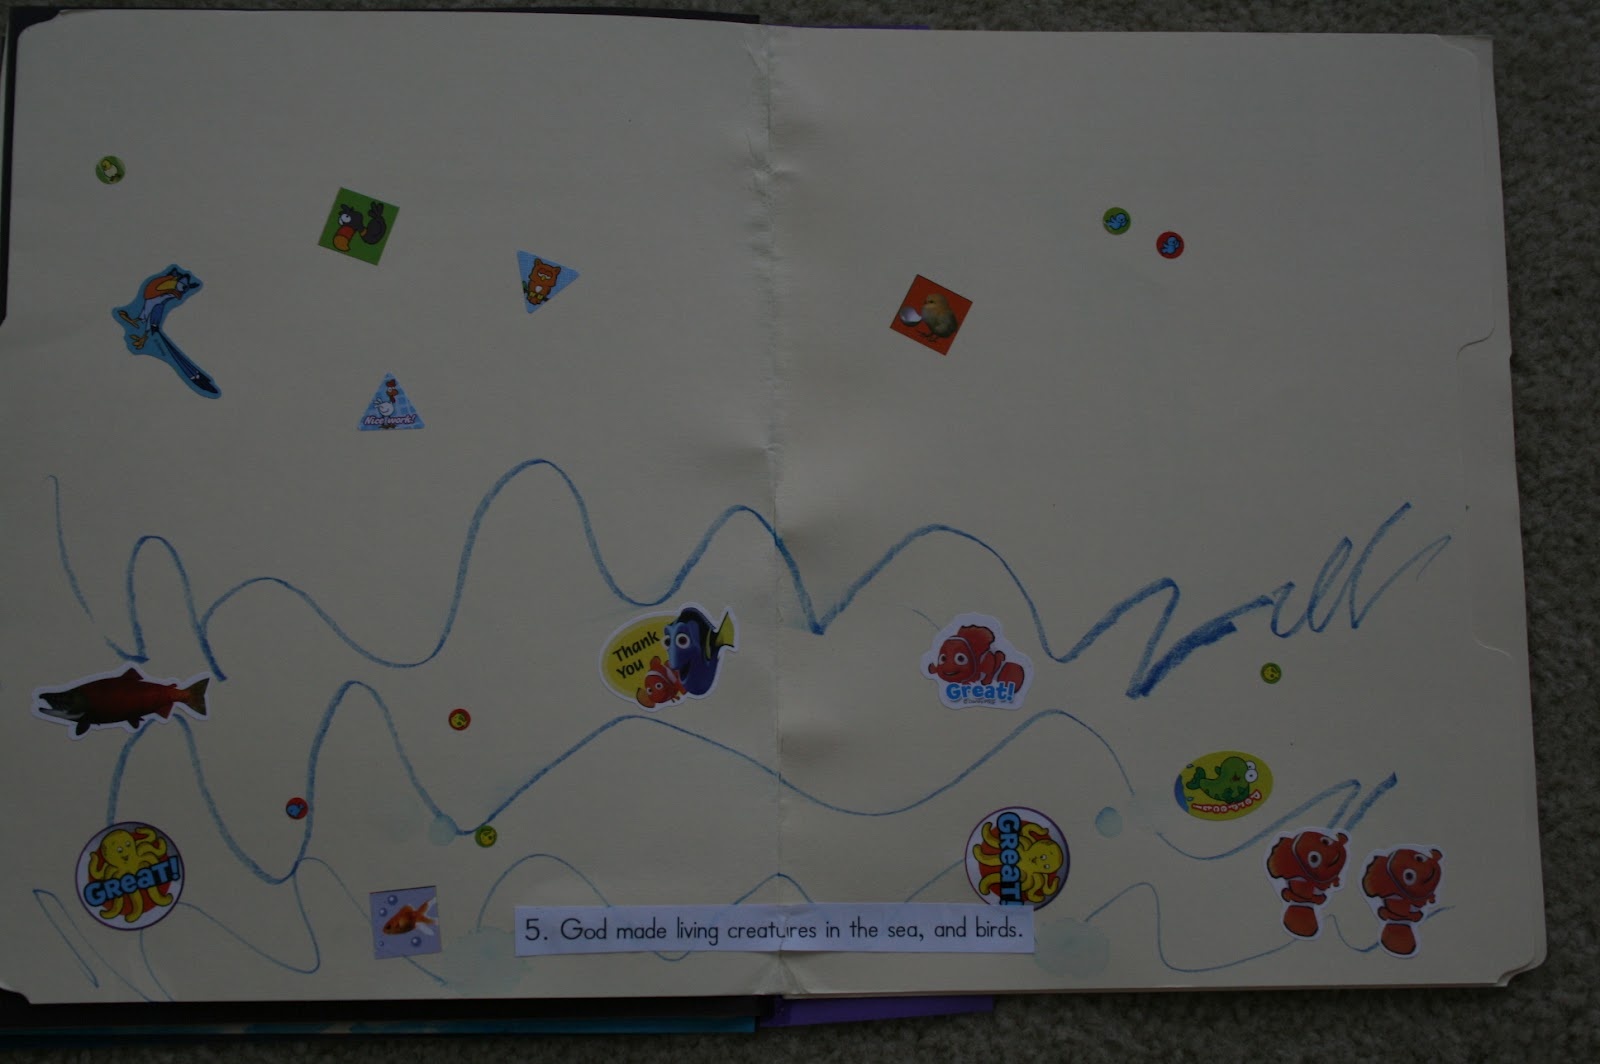
 We have just completed our first 7 days of My Father's World Kindergarten curriculum.  The days went quickly since the first two weeks are meant to be more of an introduction, but we have really enjoyed it so far.  One of the activities we did was make a creation book.  The mom in me wanted it to look really cute, but I also want to look back and see what her artwork looked like when she was little.  So we talked about what happened each day, then she drew a scene about it.  I did get a few tips from the teachers guide (cotton balls for clouds, white crayon on black paper for stars), but as you will be able to tell, Elie was able to do this book herself.  Now I can tell exactly what each picture is (because I'm her mom), but I know not everyone will.
I just adore that handwriting!
This day was simple.  Glue, paper, done!
She painted the water and added cotton balls for clouds.
Elie made grass, trees (with apples), and bushes (with grapes and strawberries).
White crayon on black paper for the stars and moon.
Stickers helped out this day.  Not sure how it would look if she had to draw fish and birds.
Here are Elie's man, woman, and animals.  Oh through the eyes of a 3 year old.
Easiest day of all!


9/12/2012

Pinterest Challenge #26 & #27 - Homemade Ice Packs

Both of these ice packs sounded great on Pinterest so I decided to perform a little experiment.  Here's what I did:
Alcohol Ice Pack - I followed One Good Thing's instructions and mixed 1 part rubbing alcohol and 3 parts water.  Pinterest Link
Dawn Ice Pack - I followed Fun, Cheap, or Free's instructions and just put Dawn straight into the bag.  Pinterest Link
I stuck them in the freezer and waited a few days to compare.  When I removed them from the freezer, both bags were practically frozen SOLID - not the mushy ice pack they both read to be.  So I came up with another solution that involved more Alcohol.  
I removed both ice packs and let them thaw.  I then took another bottle of rubbing alcohol and mixed half of the bottle into each bag, and then I refroze.  This time, I was impressed.  The packs are both much more mold-able than the first time.  I hope to soon sew little patches for them to fit into.

9/11/2012

Pinterest Challenge #25 - Creme Brulee

We were having a completely Louisiana inspired meal with another couple (where we made home made sausage and boudin), so I tried my hand for the first time at Creme Brulee - and oh my, it was delicious.  I really couldn't believe how simple this was to make.  I've ordered it at several places, and only had superb Creme Brulee on the cruise Chris and I took for our honeymoon.  A lot of times, it can taste like a boring flan, but this recipe turned out great!  Here's what you need to make it:

  • 6 egg yolks
  • 6 Tablespoons of white sugar
  • 1 1/2 cups of heavy whipping cream
  • 4 Tablespoons of brown sugar
  • A little butter to grease the ramekins


WARNING:  It really is a simple recipe, but it takes time.  You can't just throw it together last minute.  Give yourself at least 3-5 hours for it to be fully done.

  1. Whisk the yolks in a mixer for a couple of minutes.
  2. Add the white sugar and keep whisking.
  3. Add the cream and keep whisking (I think I'm seeing a pattern here). 
  4. Butter six ramekins and place them into a pan.  Fill the pan with warm water until the water goes halfway up the ramekins.
  5. Bake at 275 degrees uncovered for about 45 - 50 minutes.
  6. Remove pan from oven and allow the entire pan to cool (do not take the ramekins out of the water).
  7. Once they are at room temperature, chill them in the fridge for a couple of hours.  
  8. Adjust your oven rack to be rather close to the broiler (about 3-5 inches)
  9. sprinkle a little bit of brown sugar on the top of each Creme Brulee
  10. Set in a baking pan and closely watch them broil.  The tops should be brittle, yet not burnt.
  11. Remove and enjoy.  You can chill it after broiling, but we just dug right in and enjoyed!

Pinterest Link
Original Recipe

9/10/2012

Pinterest Challenge #24 - Apple Pie Salsa with Cinnamon Sugar Tortillas

We recently attended an apple play date, so I was eager to try out this recipe.  I took the above picture before I began cooking.  The original recipe called for corn starch, but I ended up not needing to use it.  A few moms asked for the recipe, so here it is:
  • 4 apples peeled, cored, and diced
  • 3 Tablespoons of brown sugar
  • 1/2 teaspoon of cinnamon
  • 2 Tablespoons of lemon juice
  • however many tortilla you want (I only used two burrito sized ones)
  • butter (to your liking)
  • cinnamon and sugar for sprinkling on tortillas

Combine the apples, brown sugar, cinnamon, and lemon juice into a pan and cook over medium-heat.  I cooked it for about 12-15 minutes.  I wanted my apples to not be too crisp, more of a cooked taste.  While that was cooking, I spread a little butter on my tortillas, added cinnamon and sugar, and cup them up into triangles.  Then I placed them in a 415 degree oven for 5-6 minutes until brown.  
Voila!  I served it warm, but it did taste good cold later on.  Either way, it is up to you!